


How To Make Your Own Cookie Cutter
Baking By KHalstead Updated 26 Nov 2006 , 11:52pm by SweetResults

have had a lot of people ask me how I make my cookie cutters (seeing as how I'm too cheap to buy custom made ones and too lazy to look for the easy ones LOL) I made up some directions...hopefully they are clear enough to help some of you that want to give it a try!
Instructions on making your own cookie cutter
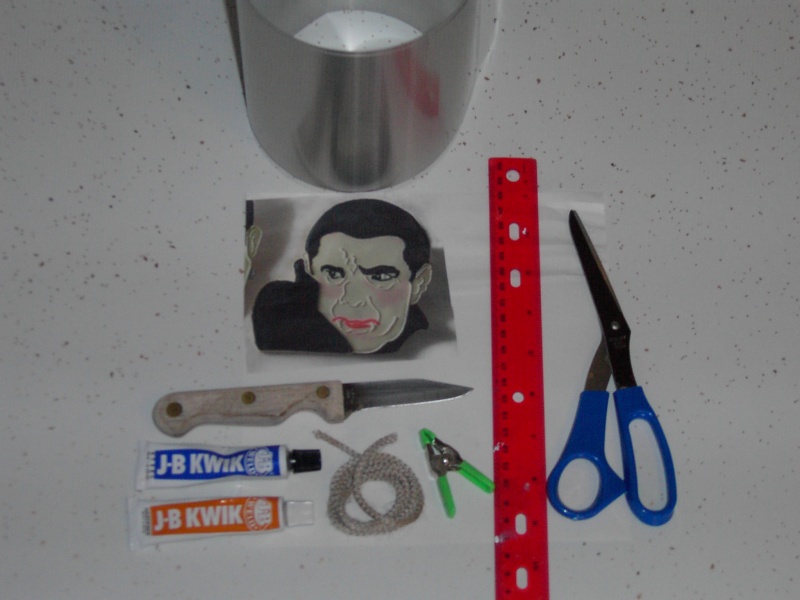
Things you will need:
*roll of aluminum flashing (the heavier the gauge the stronger your cutter will be and the harder it will be to bend)
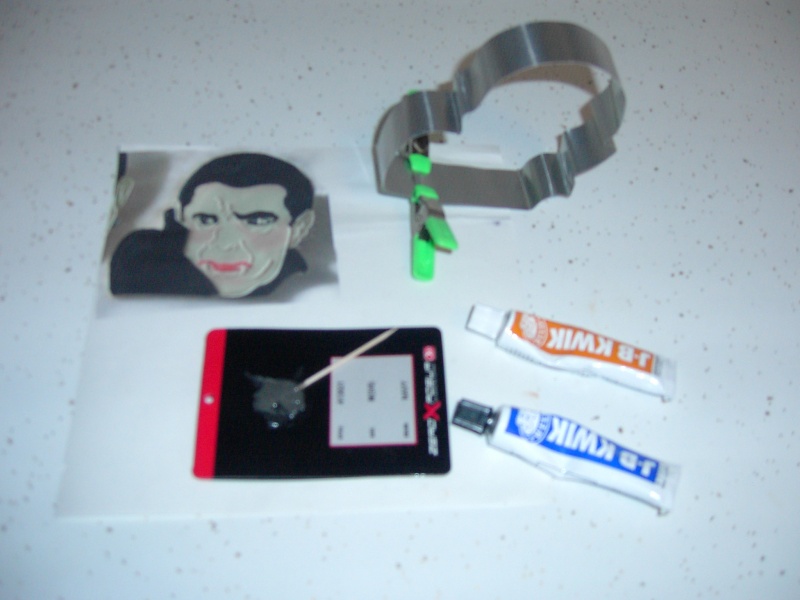
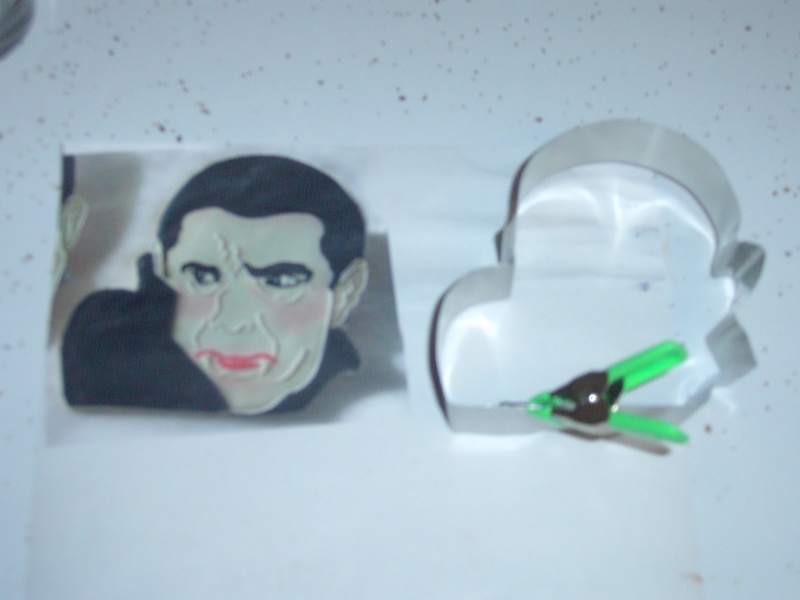
*photograph of shape you want your cutter to be
*a ruler or straight edge
*an old pair of scissors (or tin snips if you get a really heavy gauge aluminum)
*a knife or any sharp instrument (used to score aluminum)
*twine
*clips (mini ones work great and cost about .35 cents each at the hardware store
*adhesive (make sure it is non toxic) I use a two part epoxy (J B Weld, cold weld) I called the company
and they said it is safe to use for cookie cutters.
*about 20 minutes and maybe a little patience lol
Step 1.
Take the twine and lay it on the photograph following all of the lines of the picture, if the picture has
a lot of turns and curves, add 2 to 3 inches for your measurement...once you have followed the lines
of the photo cut the twine to length.
Step 2. Use the twine to measure a lenth of aluminum flashing, cut to length.
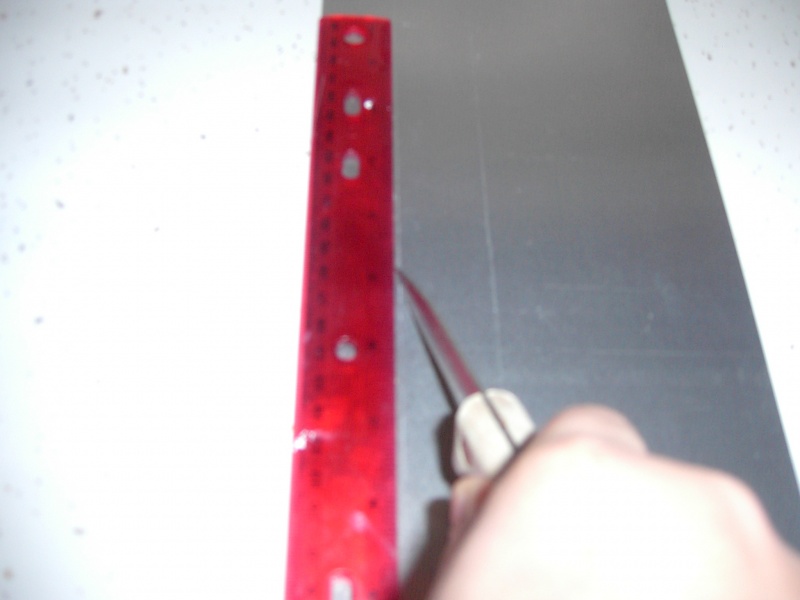
Step 3. I purchased a 6" wide roll of flashing so I lay my ruler on it and score with the ruler the width I want
my cutter to be, in this case the width of my ruler (approx. 1 1/2 to 2 inches).
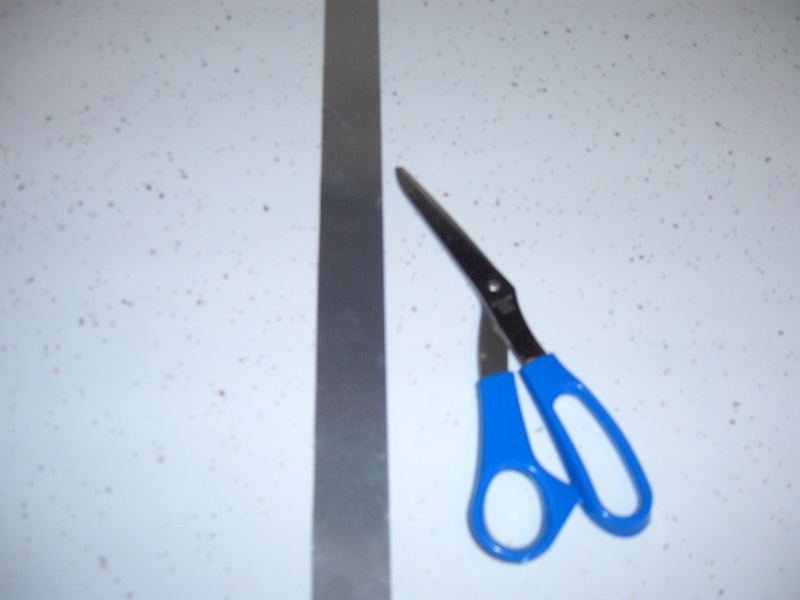
Step 4. Cut the aluminum using an old pair of scissors or tin snips to the desired width.
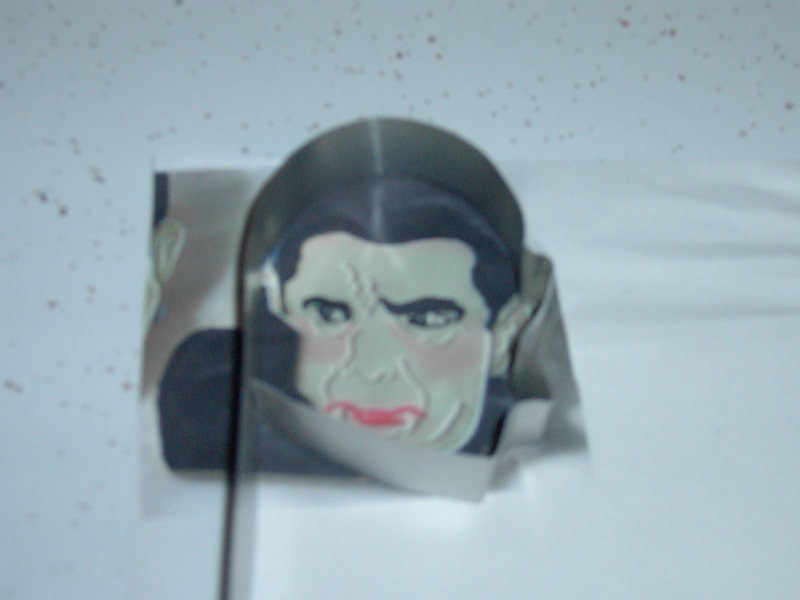
Step 5. Begin bending the aluminum following the curves of the photo as a guide and template. ( You can use
needlenose pliars if necessary...for small curves I use dowels, pencils, etc. in order to achieve the shape
of your photograph.
Step 6. Rub on a small bit of adhesive to the ends of the cutter, making sure to have an overlap of at least an inch.
Place clamps and allow to dry per the directions of your adhesive. An adhesive tape would work well too
(3M brand makes a double sided adhesive tape)
Step 7. Wash your cookie cutter before use. The adhesive I use holds the metal together well enough that I throw
my cookie cutters into the dishwasher with no trouble. Be sure to check the back of your package of adhesive
to be sure it will work at high temperatures before doing this yourself.
Step 8. Make some cookies and have fun!!


KHalstead....you're the BOMB!!!!! This is just what I needed.
Thanks for sharing!!


THANK YOU !!! I was just talking about this with my hubby. Now he has another item added to his 'honey do' list!!


B4 your tutorial I thought making cookie cutters was going to be something out of my league. Thanks a bunch.

That was great thanks. I know what I'll be doing this weekend!
Thank you so much for posting that. I always think, if I could just make my own cutters life would be much easier, I am like you hate the searching and dont want to pay the crazy prices. Thanks again!!!! 


you guys are so sweet......I really didn't think it was that big of a deal...I'm always looking for ways to save money and I saw online a kit for making your own cutters and I didn't wanna pay 20 bucks for it so off to Home Depot I went LOL They didn't have the copper ribbon that the kit came with....so I thought....aluminum why not?? I make my own cutters ever since.....all the cookies in my photos are from homemade cutters....that's all I own except some cheapy plastic ones that were like 100 for 10 bucks lol I still use them too though. Glad everyone is benefitting from this...someone pm'd me a little while ago and said "hey next time you make a cutter, take photos and make a tutorial on it" I don't remember the name of the person (sorry...you know who you are) but thank you......I didn't even think about it...it was just something I do when I need a certain shape cookie......also takes less time than running to the store LOL I can make a cutter in like 10 min. and the adhesive I have is strong enough to use the cutter in 4 min. but takes 24 hrs. to completely cure....I usually make it the night before I plan on making cookies. I'm very impatient...so this was right up my alley..besides for the 6 bucks I paid for the aluminum and the 4 bucks for the adhesive I can make about 40 cutters...at least...for 10 bucks......40 cents a piece?? For custom cutters?? I can handle that!! lol Thanks for all the positive feedback!

Wow! This tutorial is great. Thanks a million for posting and with pics too! I do have a question. Have you ever folded over the cut flashing just a bit so when you actually use the cutter you have a hem that is softer on the fingertips? Just asking cause I notice the purchased cookied cutters are like that. I wasn't sure if it would make it more difficult to shape the flashing if it was doubly thick on the top.
You know I was thinking about that and I thought what about buying some of that paint on rubbery substance, I am not sure what it is called. But just paint the rim with it and let it dry it turns to rubber. I think that might be faster and easier to work with. Just a thought.

Wow! This tutorial is great. Thanks a million for posting and with pics too! I do have a question. Have you ever folded over the cut flashing just a bit so when you actually use the cutter you have a hem that is softer on the fingertips? Just asking cause I notice the purchased cookied cutters are like that. I wasn't sure if it would make it more difficult to shape the flashing if it was doubly thick on the top.
I have thought about it but just figured it would get food and whatever else stuck in there so I've never done it......If you REALLY wanted to I don't see why you couldn't use some adhesive and put some type of rubber on the top......I don't even use my hands to press down on it so I've never bothered! I roll my rolling pin over the top of the cookie cutters, don't ask me why, I'm just goofy LOL
Thanks. I think I might try that. Did you get a chance to go to Foster yet?
..Let me know. I have not made it there yet.....Take care......
Nope....I do know where it is now! LOL I drive passed there all the time...guess I never realized it was more than floral supplies.
kahlstead. I dont' think that is goofy. I think that is a great idea. I may just start doing that. It would save time and a little cash, that's always important. You are so good. You deserve a metal!!! As far as the rubber being food safe not sure. I would have to check though it would realistically never come in contact with food.

Thank You! Thank You! Thank You!!!!! ![]() My quest for a particular cutter is now over. I have been searching for 2 years for cookie cutters I had seen on an old issue of Family Circle Magazine. I contacted the magazine, found out who made the cookies on the cover, contacted her (long story.. the tinsmith who made the cutter has passed away) and I have written to several cookie cutter stores to see if they would make one to no avail ( I can't afford the high price of having a custom cutter made! Now I can just make it myself!!!!! I have enlarged the picture and have what I think is a good pattern....can't wait to try it! I'm going to try and post a picture of what I have been search for (hope they post, not sure how to do it)...look at these adorable little girls and boys... they are just tooo cute!!! Prettiest cookies I've ever seen!
My quest for a particular cutter is now over. I have been searching for 2 years for cookie cutters I had seen on an old issue of Family Circle Magazine. I contacted the magazine, found out who made the cookies on the cover, contacted her (long story.. the tinsmith who made the cutter has passed away) and I have written to several cookie cutter stores to see if they would make one to no avail ( I can't afford the high price of having a custom cutter made! Now I can just make it myself!!!!! I have enlarged the picture and have what I think is a good pattern....can't wait to try it! I'm going to try and post a picture of what I have been search for (hope they post, not sure how to do it)...look at these adorable little girls and boys... they are just tooo cute!!! Prettiest cookies I've ever seen!
[img] [/img]
Well, shoot! It can't seem to figure out how to post a picture in my reply. I wish yall could see the cookies.... they are ADORABLE! If someone will tell me how to do it I'll post the pics... I KNOW some of you will just have to have this cutter! ![]()
click on add attatchment and the click browse and find the photo on your comp. and then double click on the file name and then just hit submit.......if it doesn't go through look at the top of the page, it will tell you in red if your file is too large.....I think it allows up to 800 pixels in the forums....if it's too large go to www.shrinkpictures.com and click on custom size and enter 800 pixels and then browse, double click on the picture file name and it will shrink it for you...then you just right click on the photo and save it to your pc....then you can add it to the forum with the first part of these directions...hope that makes sense?

click on add attatchment and the click browse and find the photo on your comp. and then double click on the file name and then just hit submit.......if it doesn't go through look at the top of the page, it will tell you in red if your file is too large.....I think it allows up to 800 pixels in the forums....if it's too large go to www.shrinkpictures.com and click on custom size and enter 800 pixels and then browse, double click on the picture file name and it will shrink it for you...then you just right click on the photo and save it to your pc....then you can add it to the forum with the first part of these directions...hope that makes sense?
Ok, here goes.... (fingers are crossed)
didn't work...I follwed the steps and I'm not getting a message that there is a problem with size. Does it need to be hosted from something like photobucket or imageshack?

Khalstead,
THANK YOU, THANK YOU, THANK YOU!!! I just made my first cutter and I am sooooo excited. Granted it is only a rectangle but it is a size that I could not find anywhere (not even on the net). I am going to make tons of cutters (I already have about 200 so why not more). Think of all the money I could have saved myself (and my husband, lol!). You are a genius (for real)!!!!!
trying one more time to post a pic of the cookie cutters I have searched for. Can't wait to make these boy and girl cutters! Thanks for the tutorial !
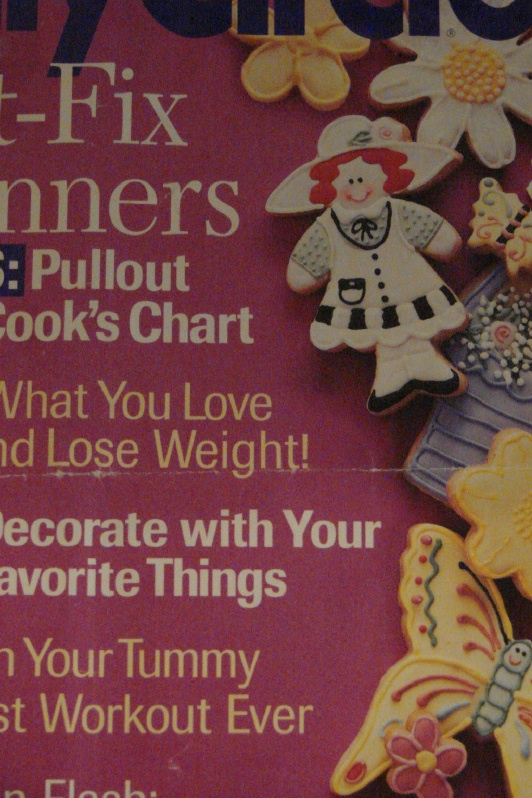
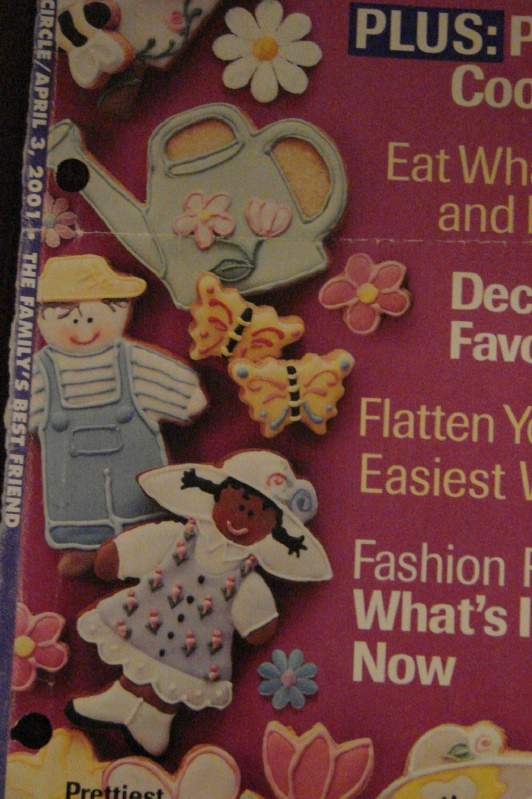
oh man........those are absolutely adorable cookies!!! Those are so great, I can see why you wanna make em'....they don't seem like they would be THAT difficult to make a cutter..the scallops on the dress will probably be the hardest part....I'd say use a small dowel rod or pencil to achieve the curve though....can't wait to see the cookies if you get around to makin th em!!! I love em
Peeverly- that's so awesome....I'm so glad that my being a cheapskate has helped someone else LOL It just seems rediculous to pay so much money for a rectangular shaped cookie cutter...when really if you made one that's pretty much the EASIEST one you could possibly make!! Glad to help out
Quote by @%username% on %date%
%body%
