


Tutorial: How To Collar A Cake Pan...
Decorating By Mikel79 Updated 16 Nov 2016 , 2:14am by remnant3333

Hi Cakers!
This is by far not a Formal Fancy tutorial like many others out in cake land. This is just something I pulled together quickly. Some might think this is nothing major, others may differ. To each their own. =)
For the last 4 ½ years I have NEVER achieved a 2 cake layer. I did it all. Bake strips, flower nails, heating cores, lower oven temperature and other cake tricks. Regardless of what I did, my cakes were always about 1 ½ after leveling. I had to use ½ foam core board so that I can achieve a 4 high cake when both layers were stacked. The cake would rise, but would bake on the cake pan lip.
Very discouraging!
Until, I read a post about collaring. Supposedly, collaring a cake pan will allow your cake to rise additional height and not cook on the lip of your cake pan. The collar acts as a barrier for your cake batter to rise against.
Well, guess what? It works! After 4 ½ years of caking, I achieved my first 4 cake. WITHOUT using foam core board!
I hope this will help 1 person. Here is the finished decorated cake if you are interested
http://cakecentral.com/gallery/2115219
DISCLAIMER: If someone out in Cake land has a formal DVD, TUTORIAL or other forms of instruction on this method, I apologize. This is strictly coincidental. Not by any means am I trying to rip off anyone out there that has done this already.
Here is what I did:
I cut out a parchment circle to match the size of my cake pan for the bottom. I then cut out several strips of parchment paper. My pans are 2 high. I cut the strips 2 ½ wide and about 14 long. Notice the baking spray? =) Wait for the next step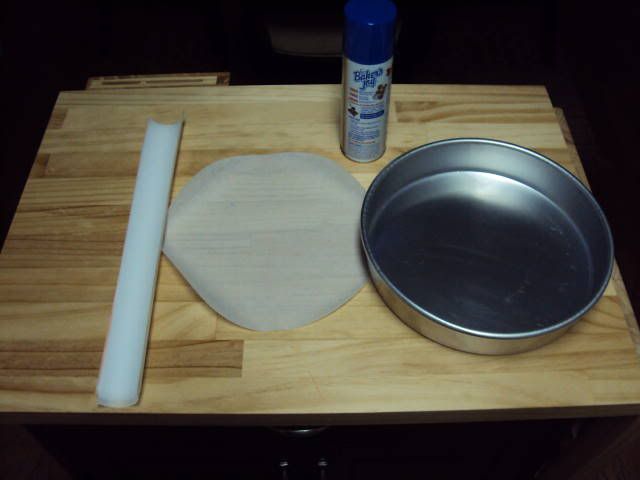
Take your baking spray and coat the pan. Sides and bottom. Insert the circle parchment paper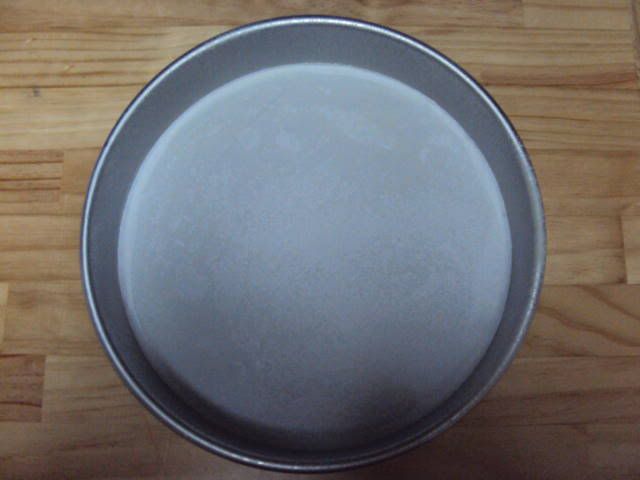
Take a strip of parchment paper and COAT THE BACK OF THE STRIP with spray. Press your finger against the strips so that they adhere to the shape of the pan. Attach the strips until the entire pan looks like this..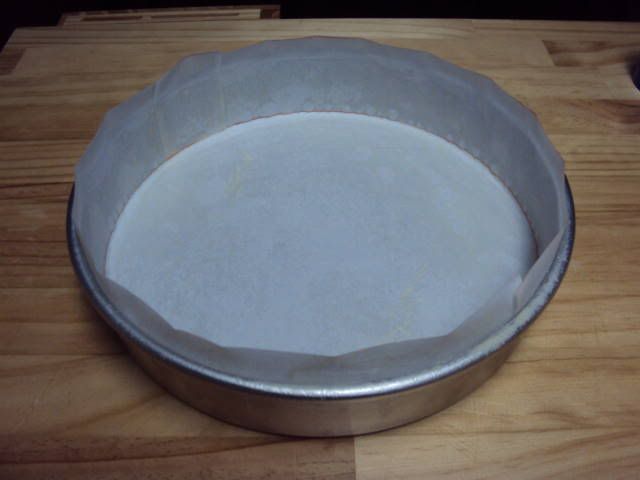
Fill your pan with batter. I dont measure my batter. Eye ball it. I leave about ½ space for the cake to rise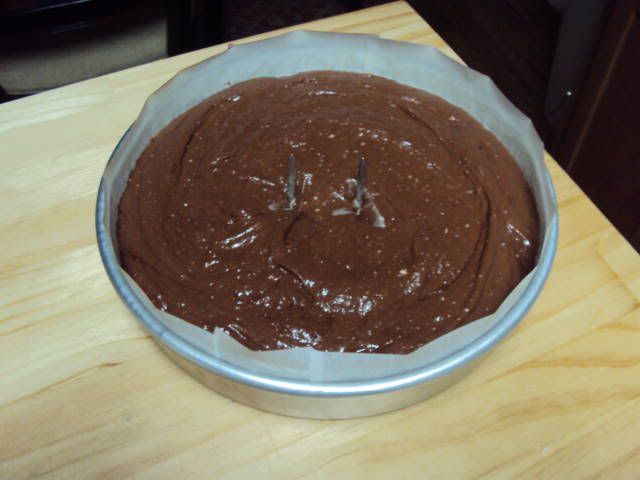
Bake as normal. Here is what my cakes looked like after they baked. They are sitting on the racks to cool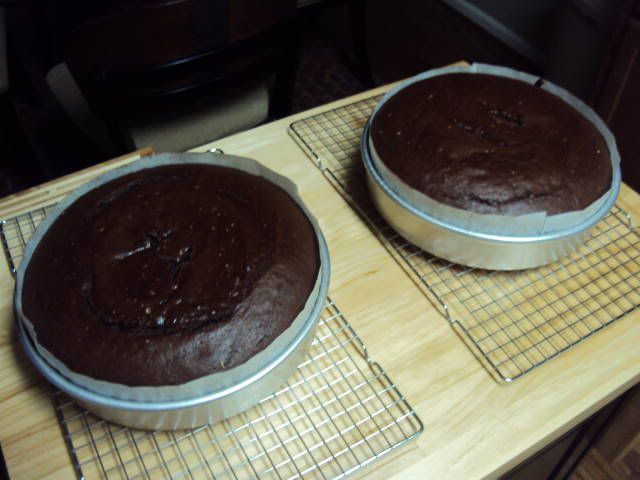
Look at this cake! This cake has NOT been leveled yet! No lip that has to be cut. I really dont need to level this, but I did anyway. The cake actually measure slightly over 2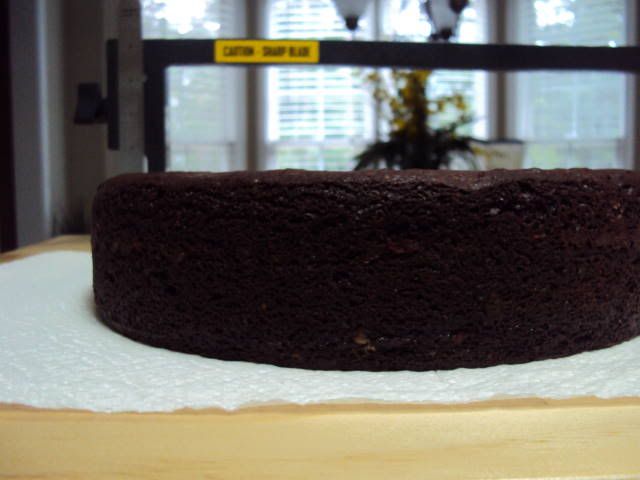
Here is what the layers looked like stacked! 4 of cake!!!!!! No foam core board!!!!!!! Geesh, it took me 4 friggin years to get this. How sad!.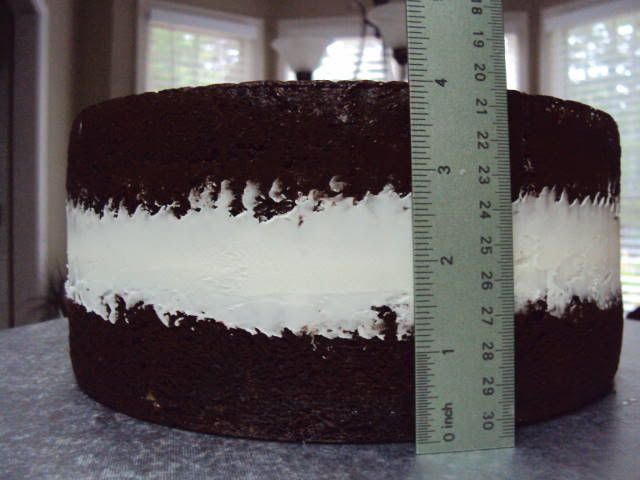
Oh yea, here is what my previous cake layers looked like when I did not use the collaring method. Notice the lip around the cake. Look how much smaller in thickness this cake is compared to the cake I did above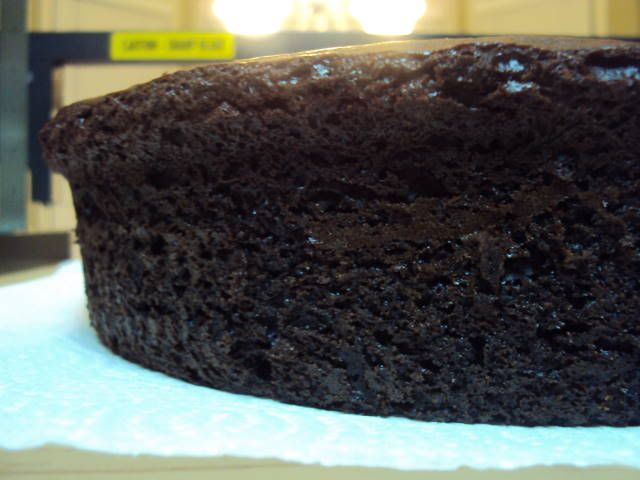
Let me know what you think! I hope this helps somebody.
TFL!
Michael

Thank you! I often struggle with squatty tiers too!

Thanks Mikel79 this is something that I'd like to for my try next cake ![]() thanks
thanks

Great job! I'm glad the collar method worked for you. I was so happy for you when I saw your post after I mentioned it on that other thread. Someone actually suggested it to me but I have yet to try it.
How far is the paper off the pan I can't tell .. looks about a inch or 2
There's a tutorial on this in the Articles section.
http://cakecentral.com/articles/101
Theresa ![]()


I HATE getting lips on my cake!!!! I've been taking my sheers to them to take them off instead of losing it all to leveling!
NOW I DON'T HAVE TO!!! Bwa ha ha ha haaaaaaaa!!!!
Can you tell that I'm happy you put this up?
Thank you bunches and bunches!!!
~Kate
There's a tutorial on this in the Articles section.
http://cakecentral.com/articles/101
Theresa
Thank you for pointing this out. =)
This is why I put a "Disclamier" in my post. =) It is a little different from what I do, but the concept is still the same.
Thanks
Michael


I have not heard of this before. I love it and will use it forever and ever. I too wase a lot of cake leveling off that dang ridge. Will help with overflow from my uneven oven too.
Thankes Mikel79!

thank you so much!! I have read about this but never have tried. I will have to try next time a bake a cake, and I think it will be for my birthday!! thank you!!

Thank you so much for this tip, I had never heard about this. I will try it the next time. I hate to waste a lot of cake cutting the lip.

I also end up eating..*AHEM* I mean, wasting a lot of cake due to leveling. ![]() You're the best, Michael! *HIGH FIVE*
You're the best, Michael! *HIGH FIVE*


Quote by @%username% on %date%
%body%