

Shells are so popular on cakes. To make your own shell molds...is so easy!
I love all ocean related creatures, so yes I made a mold for everything in the sea I could think of. I wanna share a few.
The shells. You don't have to live by the sea, every dollar store and craft store has those small package of variation shells. As cheap as $1.99
Roll out about 1/2" thick pieces of Safe D Clay. (it's ok to microwave it a little if it's too stiff to roll in cold weather conditions)
Clean your shells well and dry! With the opening of each shell facing the clay, press them shut into the working surface. If you are working with a type of shell that still shows an opening, stuff it shut with some clay and then smooth it away.
Apply thin coating of Release Dit over the shells and the clay as well.
Mix a small amount of Silicone Spread (equal amounts of part and A and B) and with a brush, paint a thin coating over the shell, cover every curl and detail. When the Silicone Spread is still sticky to the touch but no loner stays on your finger, mix some of the Silicone Plastique, again same amount of A and B parts, and cover the shells, by pressing it on lightly, trying to avoid bubbles. Cures in 2 hrs. You will get all the small details, of the shells, ridges and veins. They look so cool!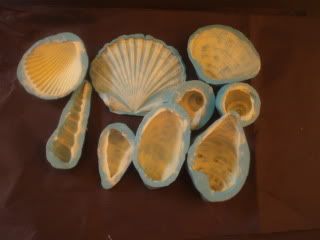
Some of them come out as deep molds, and you will want to chill it in the freezer once it's filled with fondant or gumpaste to be able to get your edible shell out in a perfect shape!
Not to mention turtle (look at the hand painted fondant turtle I made with this mold! Isn't he cute?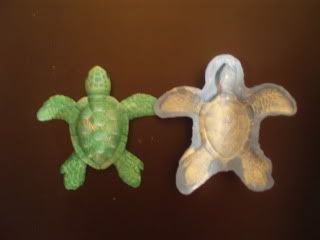
Seahorse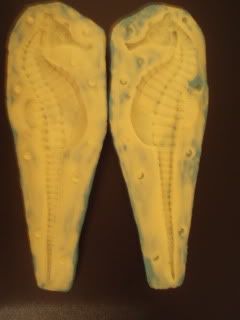
My gumpaste Seahorse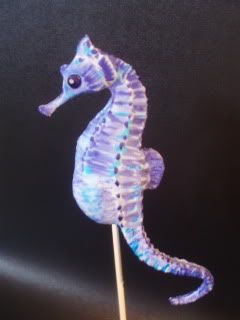
Octopus I made with my mold...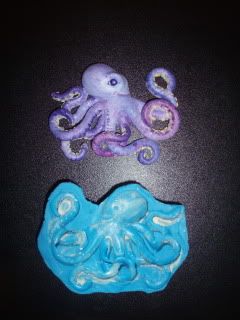
TFL! All above mentioned products for making the molds can be found on Chef Dominic's website.
Quote by @%username% on %date%
%body%