


[Color=Red][B]How To Make Your Own Cookie Cutter[/b][/color]
Baking By KHalstead Updated 31 Oct 2006 , 2:26pm by FancyLayne23

have had a lot of people ask me how I make my cookie cutters (seeing as how I'm too cheap to buy custom made ones and too lazy to look for the easy ones LOL) I made up some directions...hopefully they are clear enough to help some of you that want to give it a try!
Instructions on making your own cookie cutter
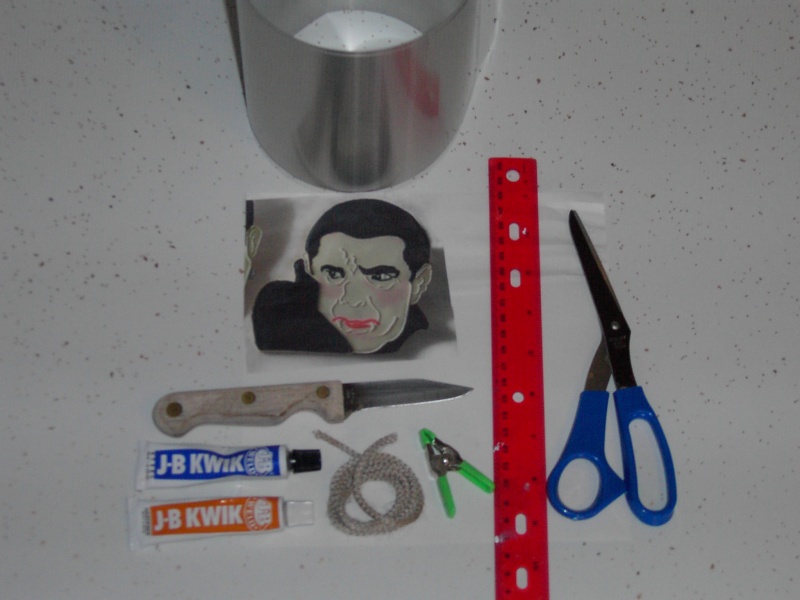
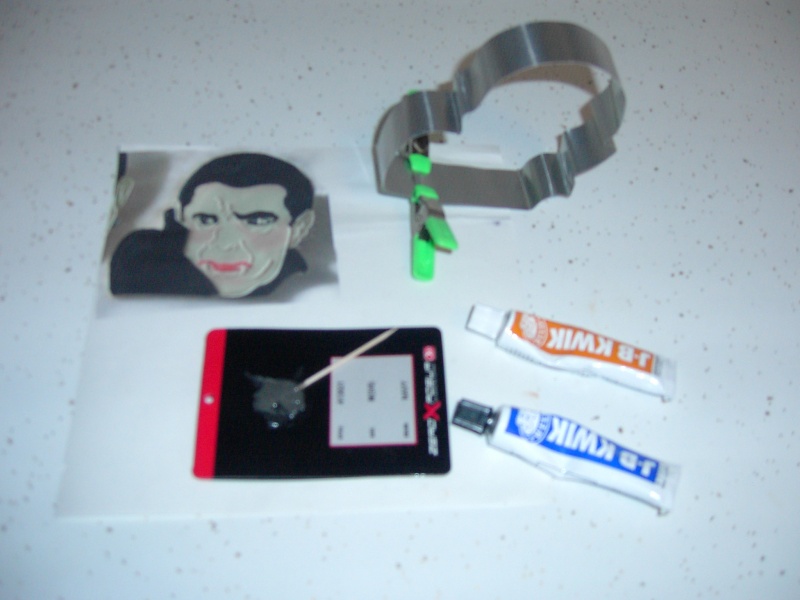
Things you will need:
*roll of aluminum flashing (the heavier the gauge the stronger your cutter will be and the harder it will be to bend)
*photograph of shape you want your cutter to be
*a ruler or straight edge
*an old pair of scissors (or tin snips if you get a really heavy gauge aluminum)
*a knife or any sharp instrument (used to score aluminum)
*twine
*clips (mini ones work great and cost about .35 cents each at the hardware store
*adhesive (make sure it is non toxic) I use a two part epoxy (J B Weld, cold weld) I called the company
and they said it is safe to use for cookie cutters.
*about 20 minutes and maybe a little patience lol
Step 1.
Take the twine and lay it on the photograph following all of the lines of the picture, if the picture has
a lot of turns and curves, add 2 to 3 inches for your measurement...once you have followed the lines
of the photo cut the twine to length.
Step 2. Use the twine to measure a lenth of aluminum flashing, cut to length.
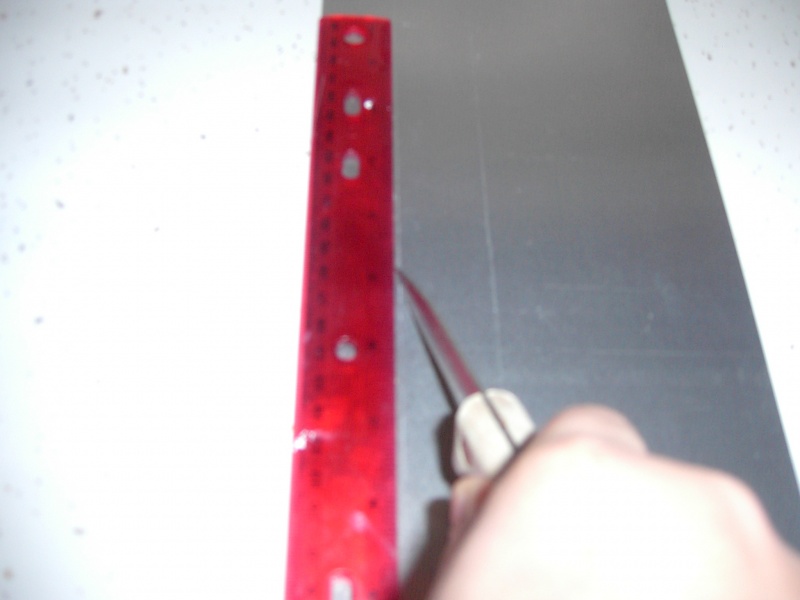
Step 3. I purchased a 6" wide roll of flashing so I lay my ruler on it and score with the ruler the width I want
my cutter to be, in this case the width of my ruler (approx. 1 1/2 to 2 inches).
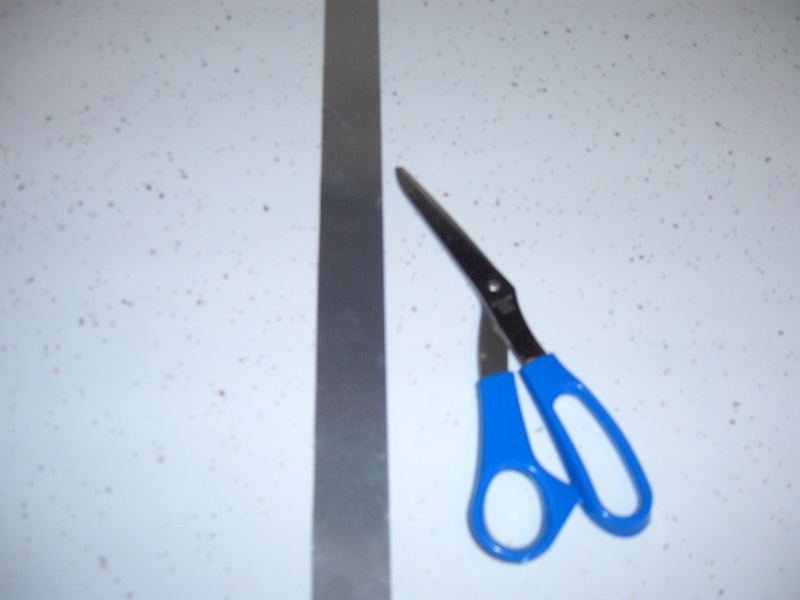
Step 4. Cut the aluminum using an old pair of scissors or tin snips to the desired width.
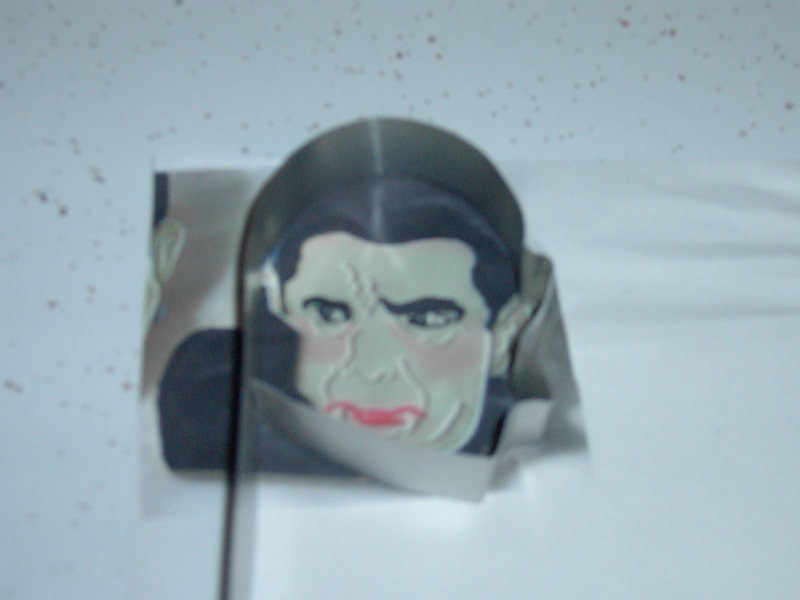
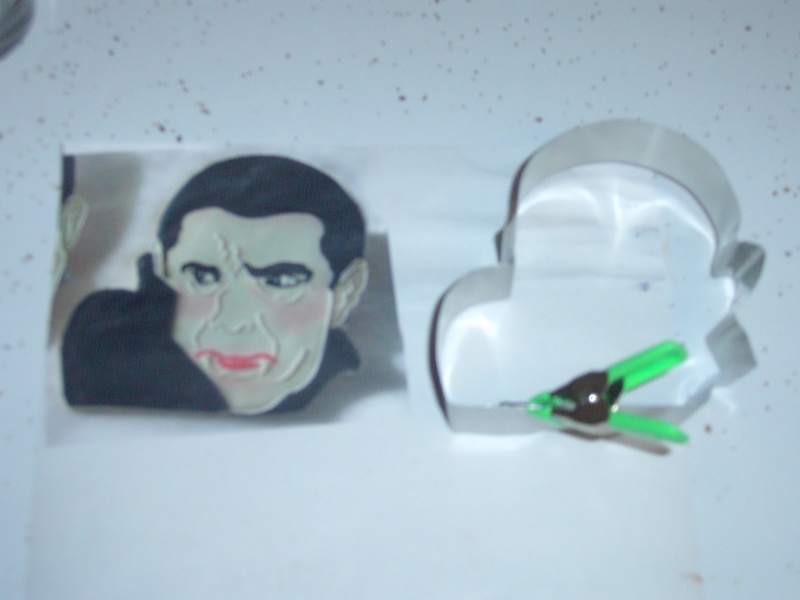
Step 5. Begin bending the aluminum following the curves of the photo as a guide and template. ( You can use
needlenose pliars if necessary...for small curves I use dowels, pencils, etc. in order to achieve the shape
of your photograph.
Step 6. Rub on a small bit of adhesive to the ends of the cutter, making sure to have an overlap of at least an inch.
Place clamps and allow to dry per the directions of your adhesive. An adhesive tape would work well too
(3M brand makes a double sided adhesive tape)
Step 7. Wash your cookie cutter before use. The adhesive I use holds the metal together well enough that I throw
my cookie cutters into the dishwasher with no trouble. Be sure to check the back of your package of adhesive
to be sure it will work at high temperatures before doing this yourself.
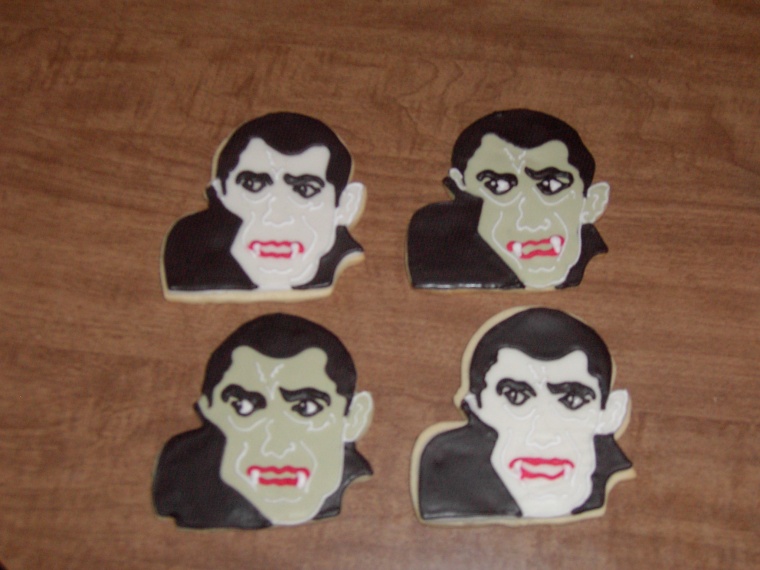
Step 8. Make some cookies and have fun!!


That is great! I use the same method except I use pop rivets to hold mine together. You should submit this to be an article. Great cookies too, by the way!

thanks a million for the post love your cookies

Thanks. I have some ideas too. I emailed someone a while back about a custom cookie cutter for my business and she has never emailed back to tell she was done so now I can try and make one on my own. Thank you!
Quote by @%username% on %date%
%body%