


I don't know why, but I can not seem to get the buttercream Daisy....The way my Wilton instructor showed me ends up looking like a WIND MILL!!!! ![]() Tommorows class we are making the basketweaved cake with the royal icing flowers, Welp I have all the flowers except the Daisy's & the one's I have made
Tommorows class we are making the basketweaved cake with the royal icing flowers, Welp I have all the flowers except the Daisy's & the one's I have made ![]() just look plain SILLY! ANY Suggestion's Yall???
just look plain SILLY! ANY Suggestion's Yall???

I wish you could post a picture so we could see what's going on! They're probably not as bad as you're making them out to be. We are usually our own worst critics! If they are broad out the outer edge, maybe you aren't releasing the pressure before you pull away?

I was not happy with my daisies either, and plan to re-do them before my final class this week. For some reason the royal icing we used was not cooperating for anyone (air was humid that nite). I went thru the same thing with the color flow birds- my attempts at class were horrible, but re-did them at home and am very pleased with the results.
deb

I am in Course II now also, and the way my instructor was showing us the daisies also looked like windmills, nothing like the book. We were all kind of looking at her like you're kidding, right? She kept telling us to hold the bag out at 90 degrees. Well, I got home and tried them again using the instructions in the book, and the book says to hold the tip almost parallel to the flower nail at 45 degrees at 3:00 o'clock (NOT 90 degrees!). Once you get that positioning correct, it's just a matter of getting the pressure control right. So when I ignored the teacher and did exactly what the book said, mine came out great. I had the wide end of the tip touching the flower nail, the narrow end pointing slightly up as the book says, and I followed the rest of the book instructions about releasing pressure as you go back down towards the middle after you make the petal. I have found that if I really pay attention to every little detail the instructions in the book say, my flowers come out much better. I have to keep reminding myself to hold the bag right and release pressure at the right time and I re-read the instructions again while I'm making the flowers. All of a sudden you'll do a perfect one and then you're on your way! Good luck.
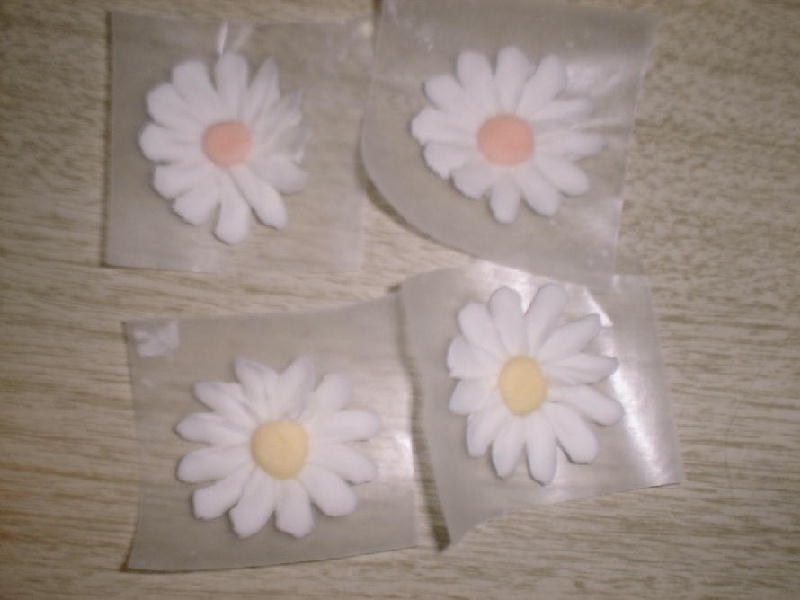
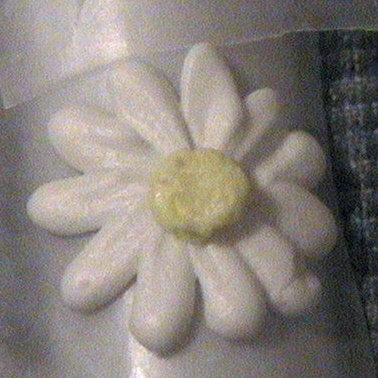
As I said in a previous post, I was so unhappy with my daisies that I re-did them last nite. I must have made at leat 20 of them, with only one turning out what I would consider looking like a daisy. The rest, although really not "botanically correct" in my eyes, they are a heck of alot better than my first attempt at class. I have attached a picture of the one I like the best (wish I could figure out how I did it). If I can attach a second picture - which I still have to figure out how to do in this forum - it will show others I also made last nite. Like the old saying goes, practice makes perfect, and don't ever give up!
deb
I take it the second picture is what you are trying to duplicate. Looks like you had the tip up side down. I call these my art deco dasies. And what i do, is holding the fat end of the tip out at a 90 degree angle to the nail i start at the outer edge of the flower and pipe a line cutting off pressure just before hitting the center of the flower.
When I make daisies, I turned the wide end of the 104 tip out instead of towards the center, opposite of the instructions in the Wilton Course II book. I think that they come out better and are eaiser to make that way.
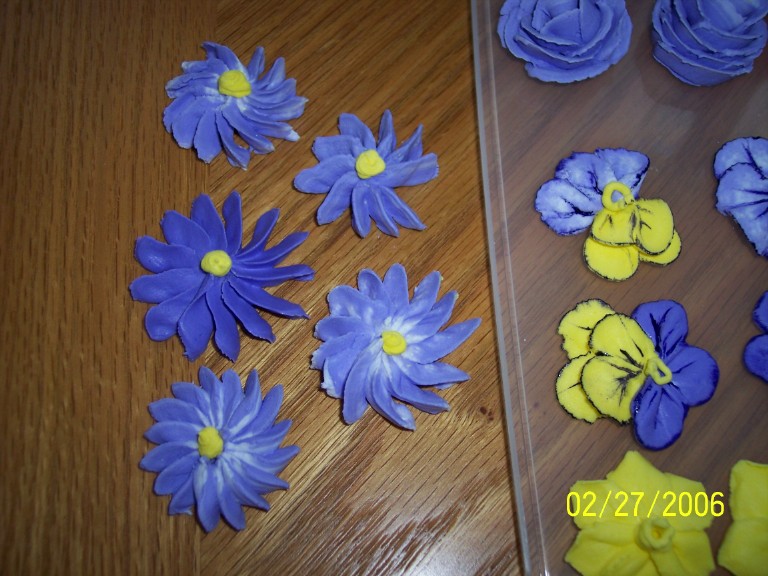
Here's my final cake for course II. Check out the daisy on the front of the cake. I made with the wide end of the 104 tip turned out rather than in.
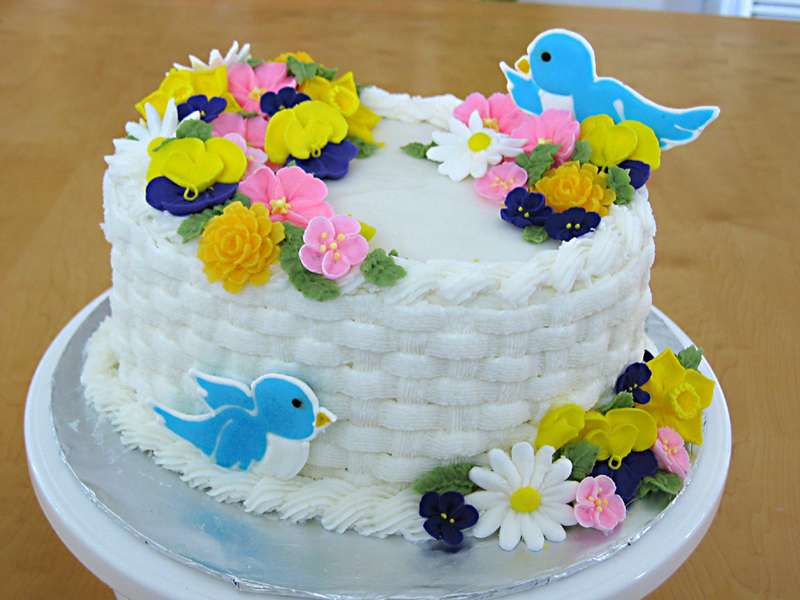

dont laugh to hard......
It seems to me your tip is at an angle That's too steep. In Addition you Are turning the nail way too fast.
Are you using the Daisy guide that came in the Course 2 book?
I would suggest:
1. Laying the tip at an angle that's closer to the flower nail. So move away from the vertical.
2. Turn the flower nail slower. You only need to turn it just enough to give The tip of the petal that curve.
3. Use the guide that came with the Course 2 book. Photocopy them and laminate them and stick them to you flower nail with A bit of fun tac. Or have them magnetized. I think Michaels sells the kit.

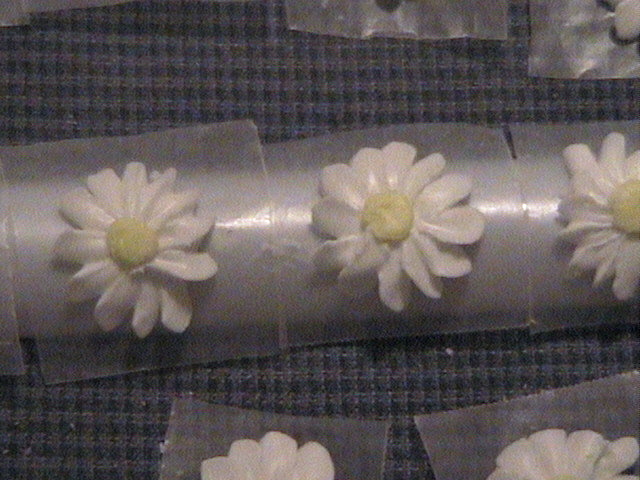
I just made these for class on Monday. After many daisies I decide to try using a smaller tip. I used tip 103 for my daisies and they came out much better!
ttatummm,
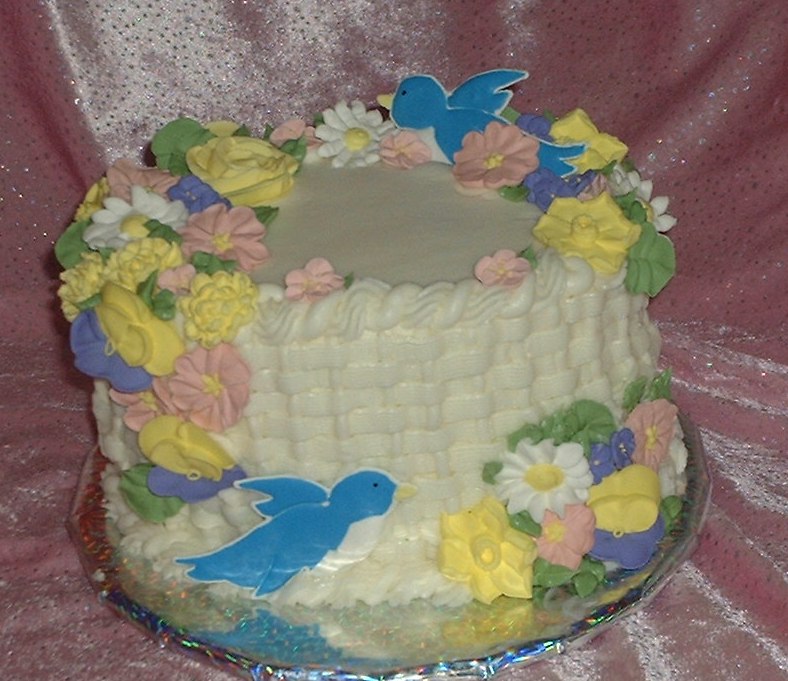
Your cake looks PERFECT!!! It looks like it came right out of a book! Really nice photography and lighting, too. Wow!!! I am so impressed!! And your daisy looks perfect, too. I struggled with the daisy for so long before I even took the Wilton courses and I tried what you did, too, having the wide end of the tip facing the edge of the nail instead of the center, but mine never came out half as good as yours. You look like a professional already!!! Great job on your cake!!

I've always had problems with daisys also.....and I'm left handed, if that makes a difference! My instructor said that the Wilton daisy in the book is computer generated....whether that's true or not, who knows!
Thanks Cakey.
I must admit I'm really proud of that cake. My first two cakes were so-so, but this cake really got me excited about cake decorating.
My husband helps me with the pictures, he really good at get the lighting right. We normally use natural lighting (morning lighting if we can swing it). But most of the time you have to give it a little help. We use a large piece of white cardboard to either reflect light or sometimes block some light to prevent any shadows.
I really like making the royal icing flowers but since I finished Course III, I'm kinda into the fondant. I'm looking forward to learning how to make other flower than just roses from fondant.
Quote by @%username% on %date%
%body%