Wafer paper butterflies look like real butterflies, light and airy, when you follow these simple steps. Make them as detailed or simple as you like, even embellish with some sparkle if you like.
Many wedding cakes, and birthday cakes have butterflies on them that are cloth, or plastic. This step-by-step guide will show you how to make delicate, realistic beautiful butterflies that can be edible, or not to garnish any cake.
Butterflies take a few days to make because of all the drying necessary between each step, so its a good idea to make a lot of butterflies at one time, and save them for later.
In this exampe I have used Vellum non-edible paper
Tools & Materials
- White THIN wafer/rice paper (This is sometimes difficult to come by, so if the butterfly does not need to be “Edible” you can use thin Vellum paper from your local paper store. Make sure it is not colored and non-toxic)
- Non-Toxic Coloring Pens, or edible ink from your edible printer
- Clear piping Gel
- Luster Dust or Sparkly Petal Dust (optional)
- Black Stamens (optional)
- Small amount of Royal Icing or 2 in. Ball of black fondant
- Small pastry or art brush
- Scissors
- Tissue or Flower Formers
- Parchment paper
- Piping bag
- Piping tip, #3
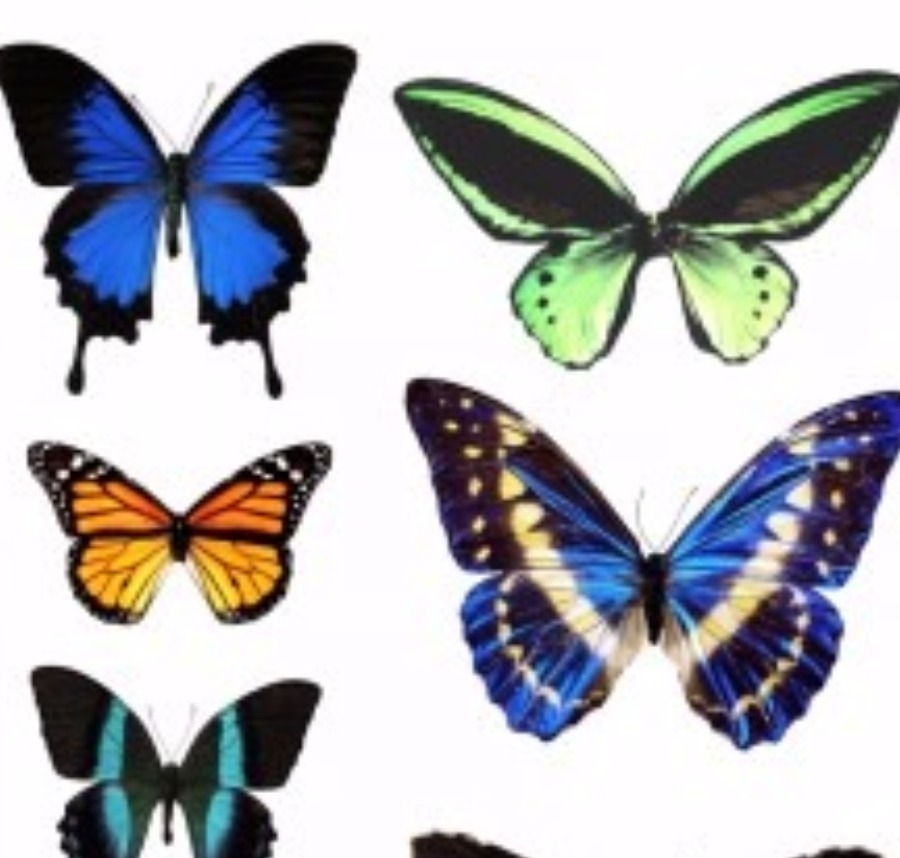
1. Print an image of butterflies onto regular printer paper.
(if you are using Vellum, print directly onto it with your edible ink and skip to step 3)
2. Place a sheet of rice/wafer paper onto your printed image, using your coloring pens, trace the image.
Wait to dry, then flip over and do the same thing on
the reverse rough side and let dry again.
(Drying time may take up to 24 hours)
TIP: If you notice that your colors look dull and faded after drying don’t worry! Adding the piping gel in the next step refreshes the color.
3. Spread clear piping gel over over your butterflies. Piping gel should be spread on as smoothly as possible.There will be some smearing. Let dry until butterflies become tacky but not complete dry, otherwise they will be too brittle. Drying time is usually 12 – 36 hours
OPTIONAL: Before drying, sprinkle fine edible glitter, or sparkly petal dust on the wings for that extra sparkle. (I have done this in the example images.)
4. Repeat Step 3 on the reverse side, also allow for drying time.
5. Cut out the entire butterfly.
6. Place your cutout butterfly onto a square of parchment paper.
Using black royal icing, pipe the body and head.
If using black fondant, roll a small amount into the size of the body you want.
(Some like to cut the wings and insert them one at a time. I prefer to leave the wings connected and draw the icing through the center. Because
I could never get the wings to stay straight if I cut them)
OPTIONAL: Add the antennae by inserting 2 flower stamens.
7. Some like to prop up the wings using tissue or paper towels. I prefer to place the parchment square with my butterfly on it, into my Wilton™ Flower Formers. I use a smaller flower former if I want the wings closer together, and larger for wings that I want more spread apart.
STORAGE: To store your butterflies, simply keep them in any air-tight container or zip-top bag.The butterflies should not be kept anywhere moist, like the refrigerator or freezer.They can be stored with silica gel or other moisture absorbers in an airtight container. Moisture will make the butterfly wings warp and curl.


Here is a different technique using the same technique holtsesl was talking about. http://youtu.be/ORLOsjLAsA8